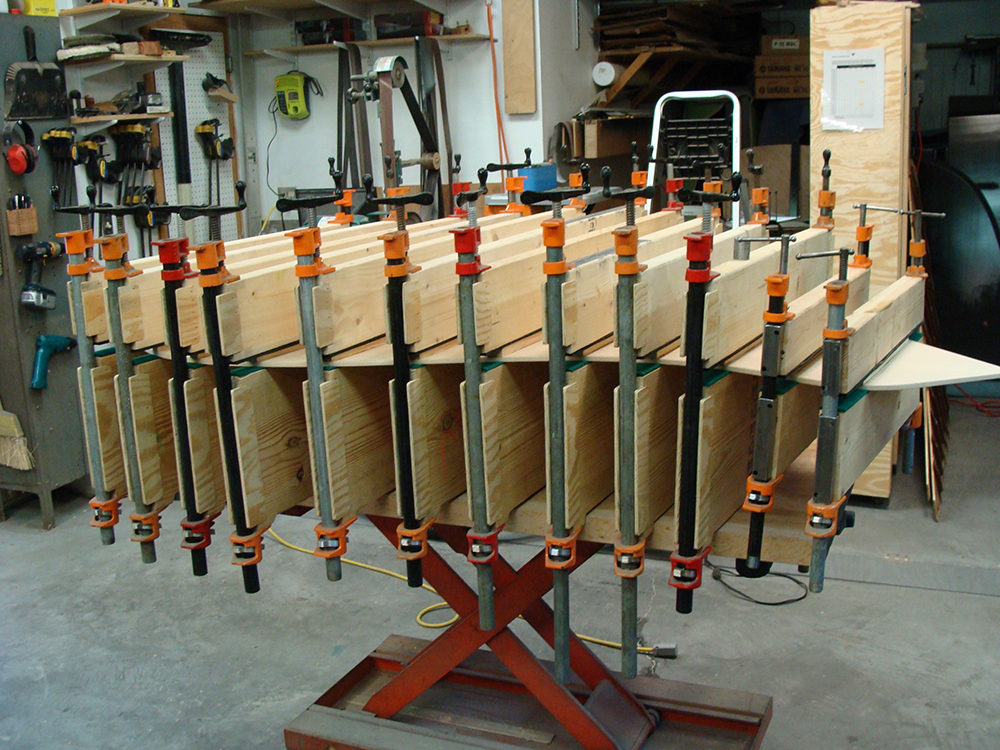
This picture shows my soundboard press. It can be expanded to accommodate a nine foot piano.
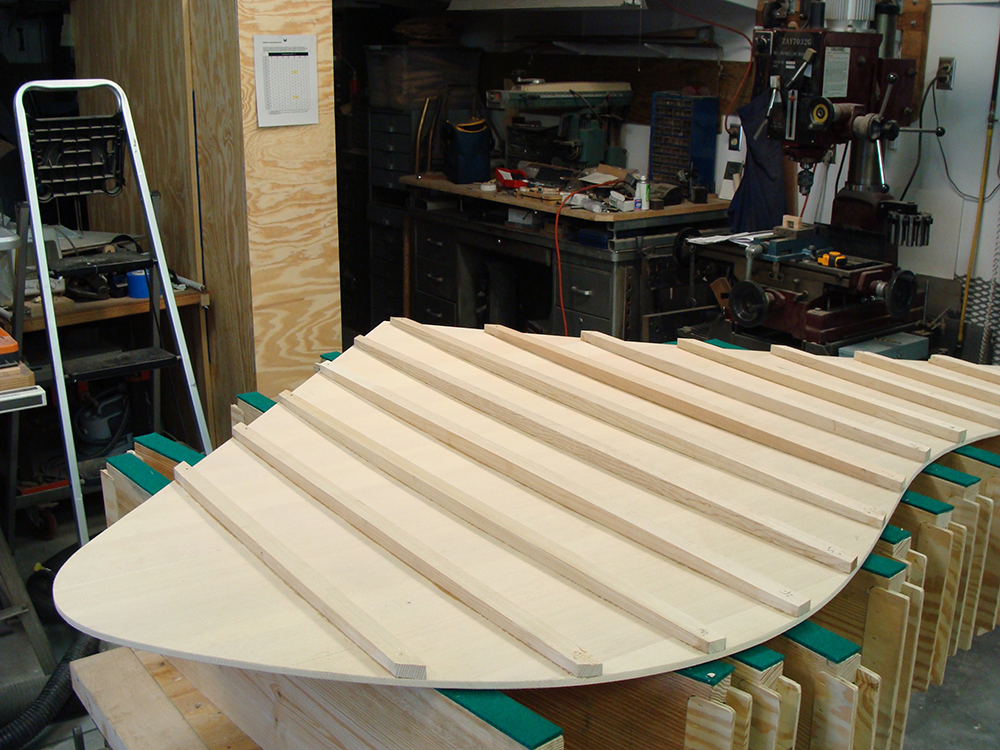
Here’s the soundboard after it comes out of the press. At this point the ribs are too thick and the ends need to be tapered.
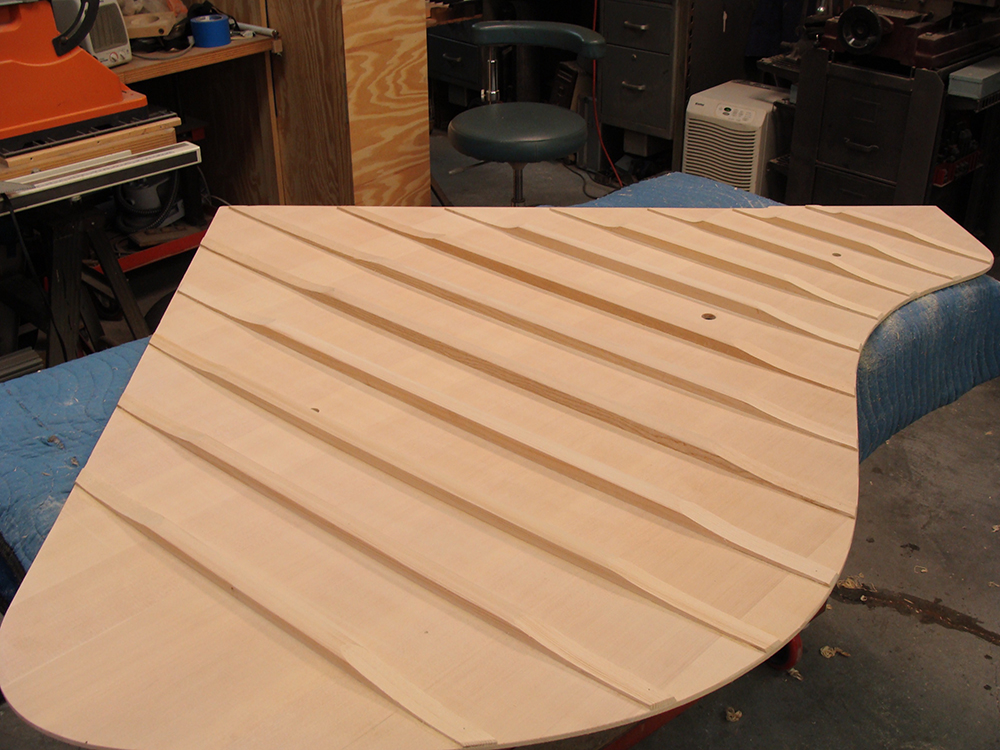
After trimming and tapering the ribs, the board is ready for bridge installation and final fit in the case.
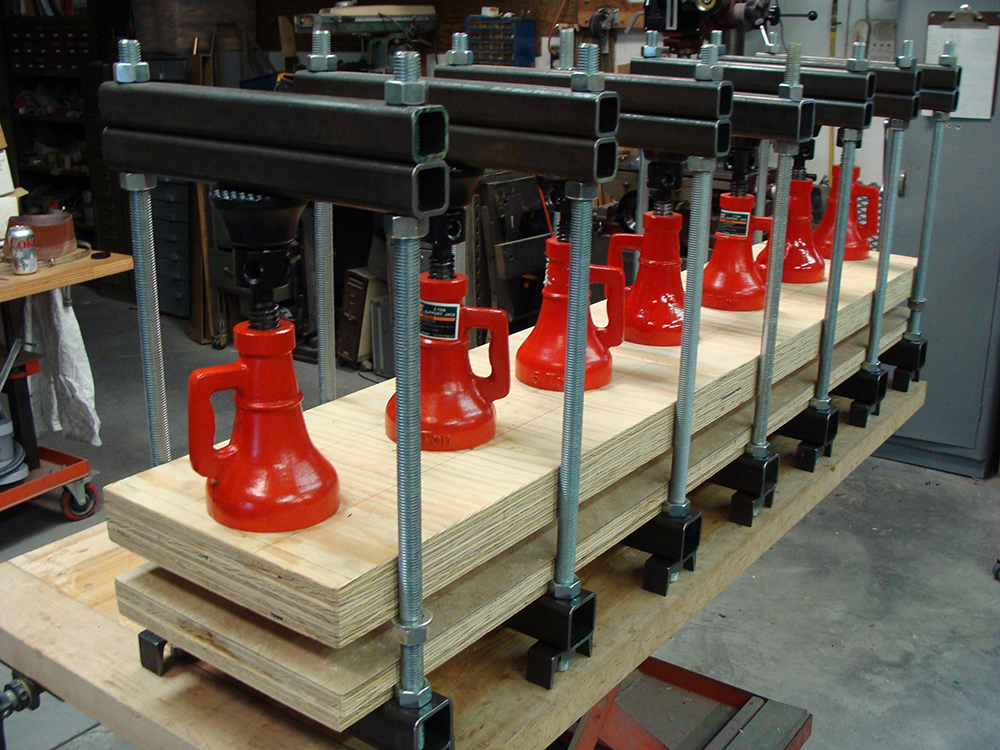
This press is used to laminate pin blocks as well as make other laminations. Each red jack applies 5 tons of pressure — when spreading the clamping pressure over many square inches, the per inch pressure is quickly reduced.
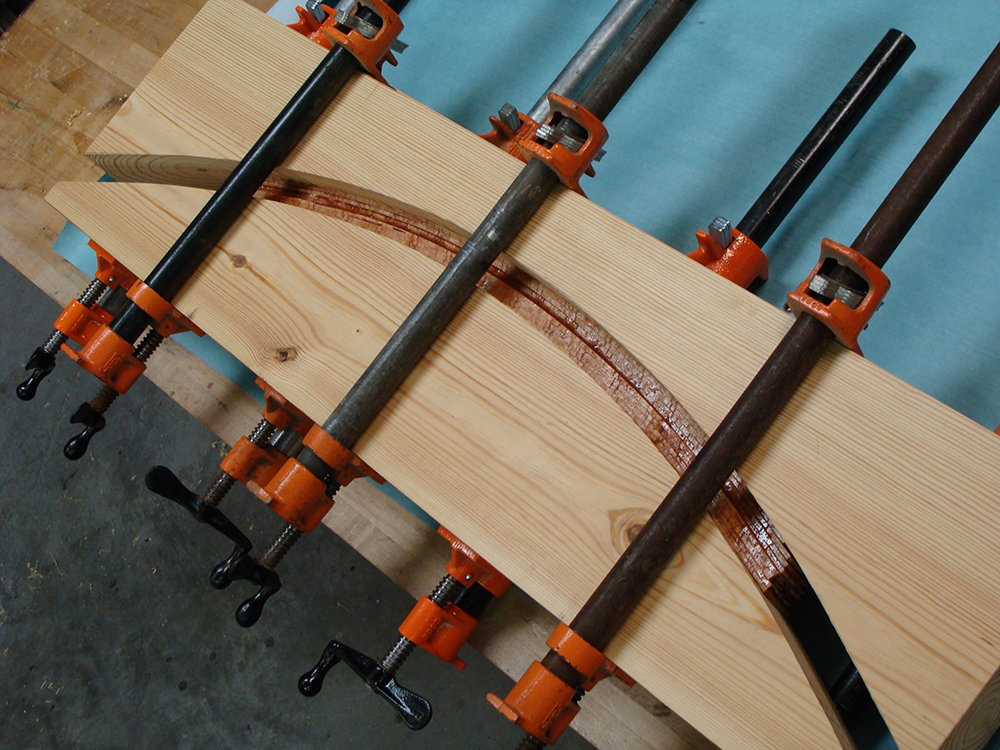
A forming press is used to make cut–off bars in soundboard construction. A cut–off bar is useful in supplying support for the longest ribs without sacrificing tone, prolonging the life of the piano. Cut–off bars can be straight, but a curved bar better fits my concept of soundboard design.
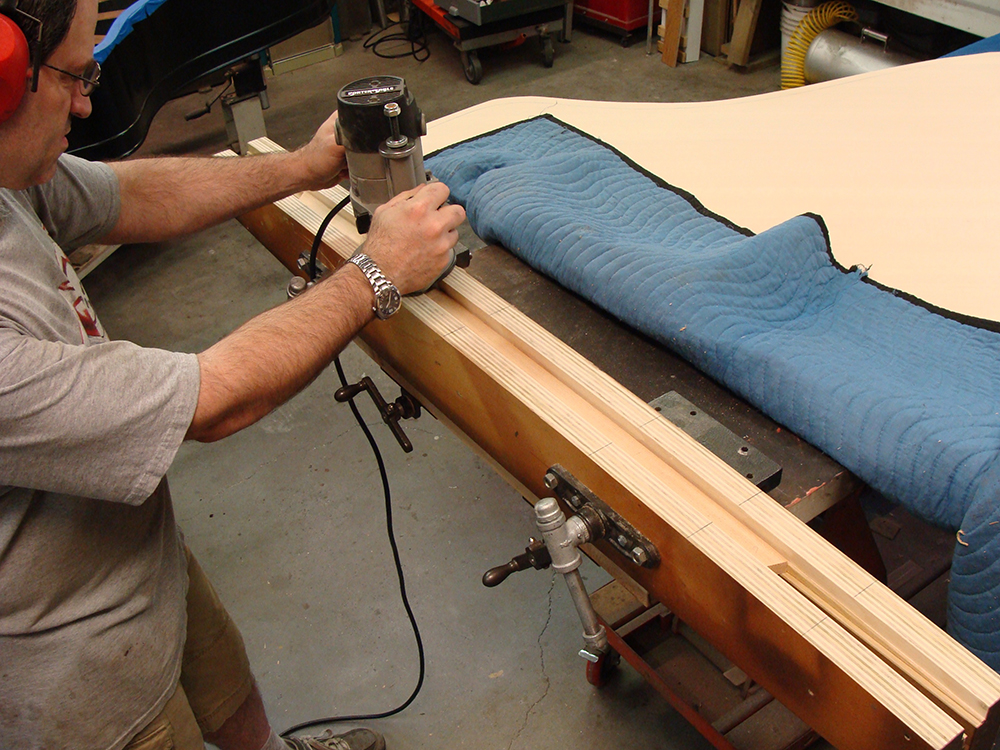
Here’s my jig for cutting soundboard ribs. The rib is clamped in the jig and a router is used to cut a radius on the face of the rib. Ribs may be cut straight or have an aggressive curve.
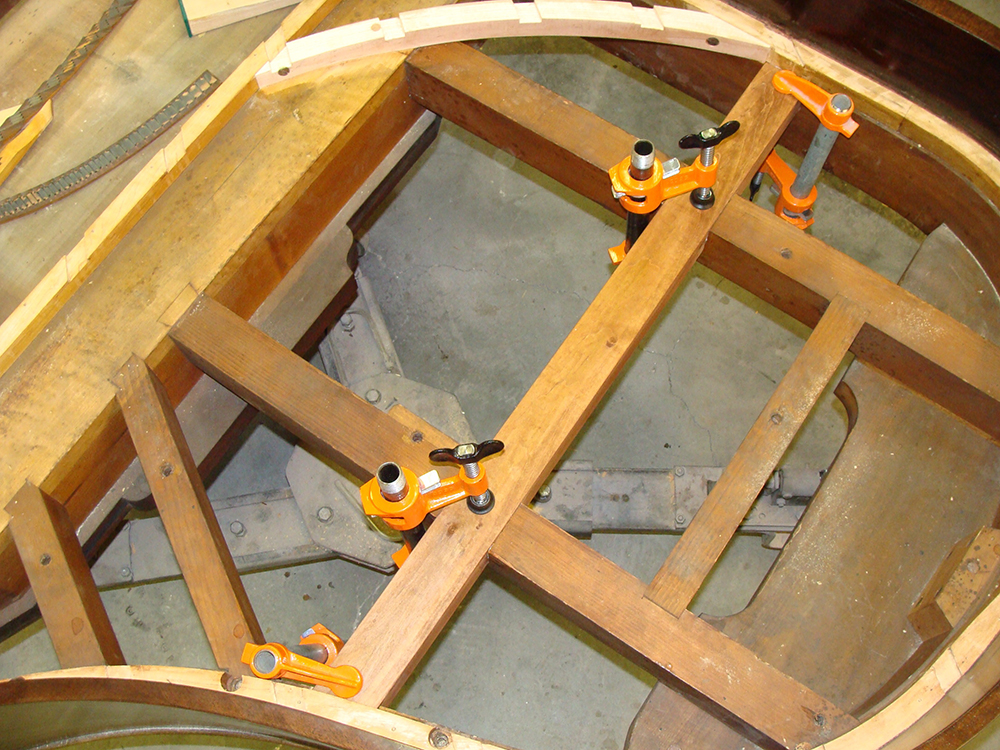
This piano's soundboard has been removed. You can see that I am adding a cross brace as well as a cut–off bar. These changes enhance the structure of the piano.
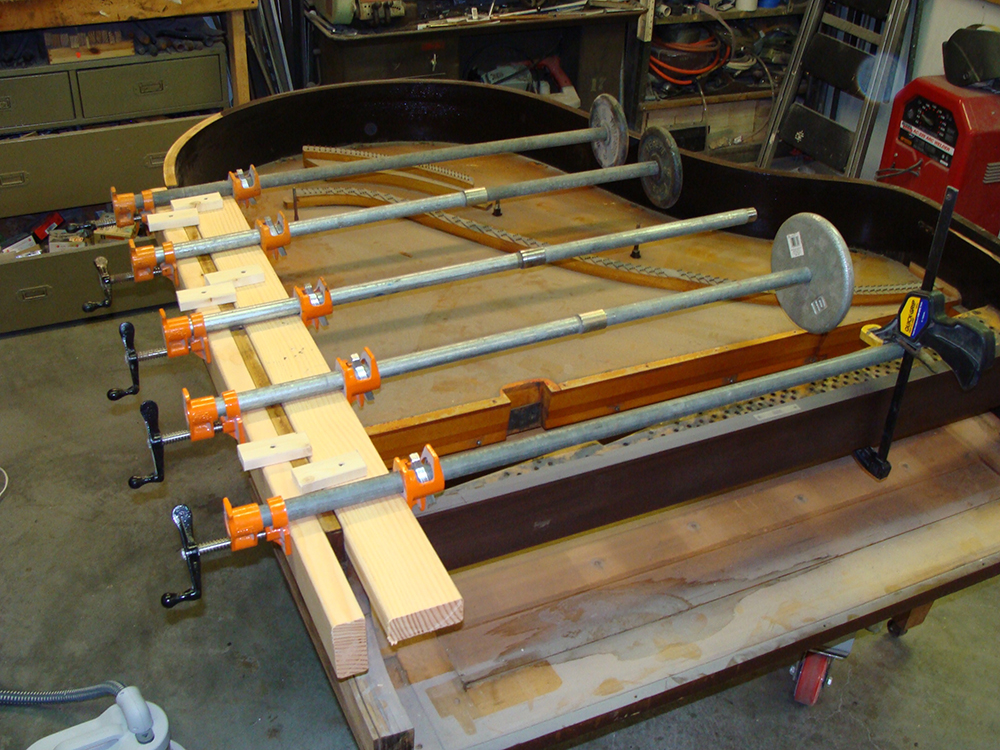
Sometimes piano problems are not of design, but are caused by outside forces. This piano was stored on its side in a garage that flooded.
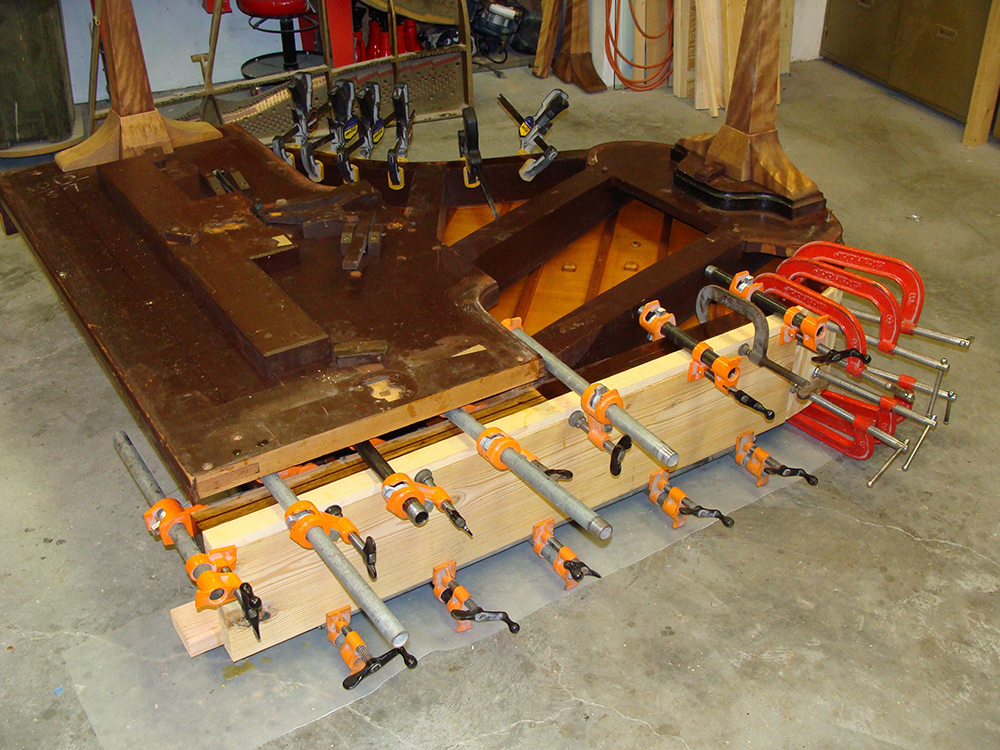
The straight side had delaminated looking like leaves of a book. It can take some ingenuity to get things back in place.
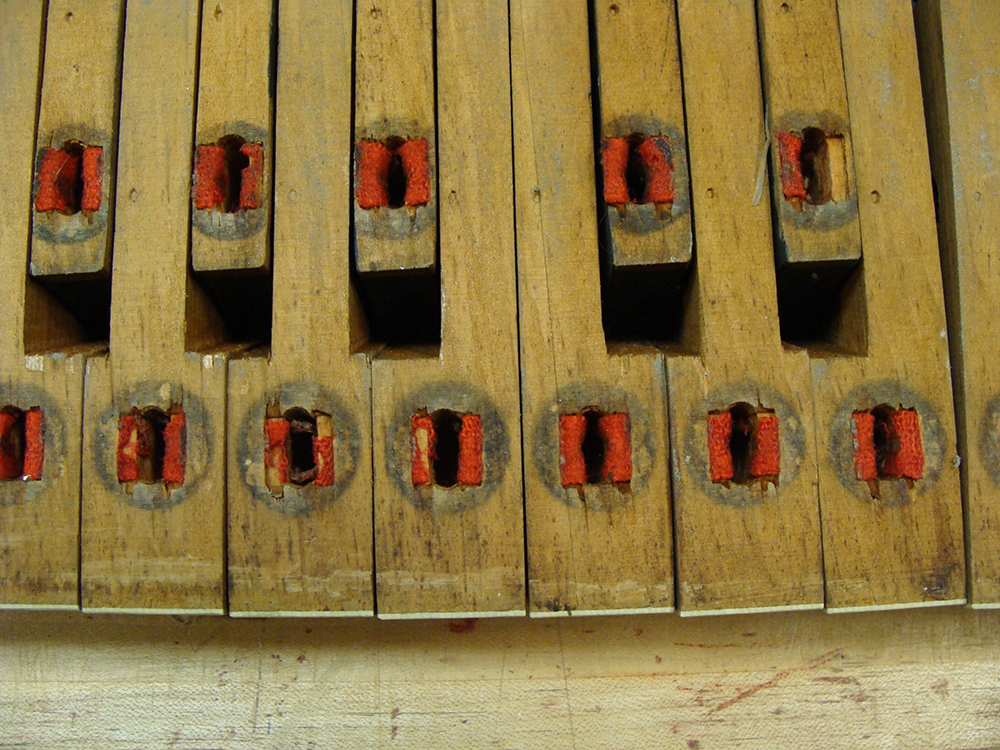
Here’s what the underneath side of piano keys looks like. The keys ride on metal pins and are held in place by cloth bushings. These bushings designed to be replaced when they wear out.
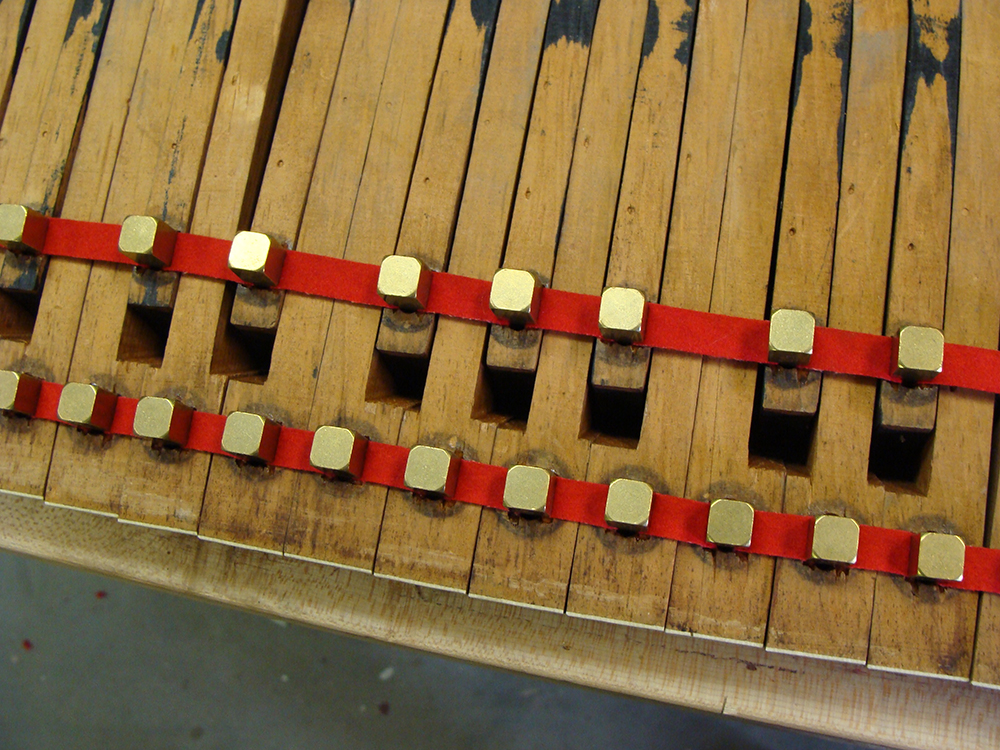
I use brass cauls that are very accurately sized to match the key pin. This gives the keys good support without any unnecessary friction.
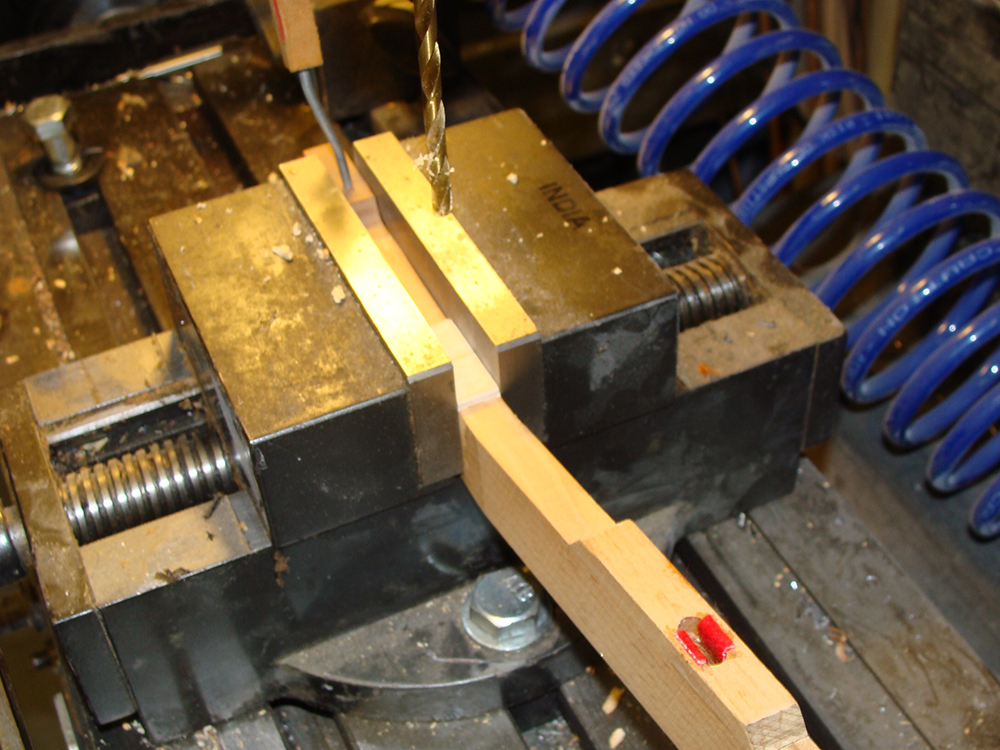
Sometimes it is necessary to change the geometry of an action. With this action the capstan screws needed to be moved about three milimeters. I usually prefer to add a laminated cap to the top of the key. This gives a better surface for drilling the new hole and excellent support to the capstan. I use a self–centering vice because the keys vary in width and this automatically locates the hole in the center of the key.
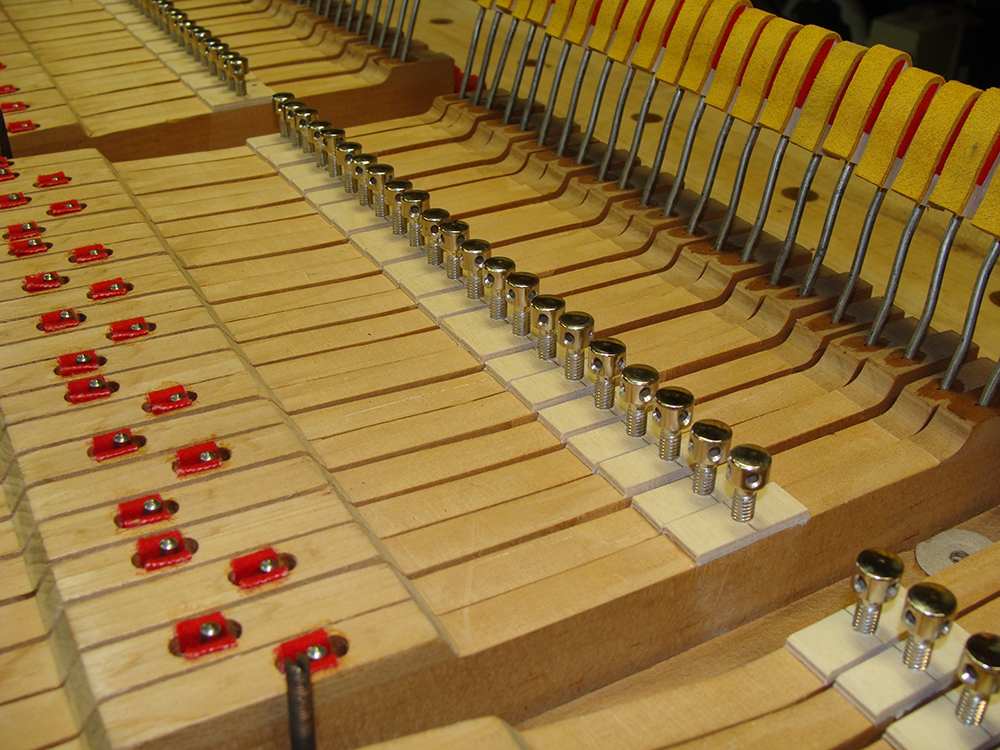
The finished keys look pretty good.
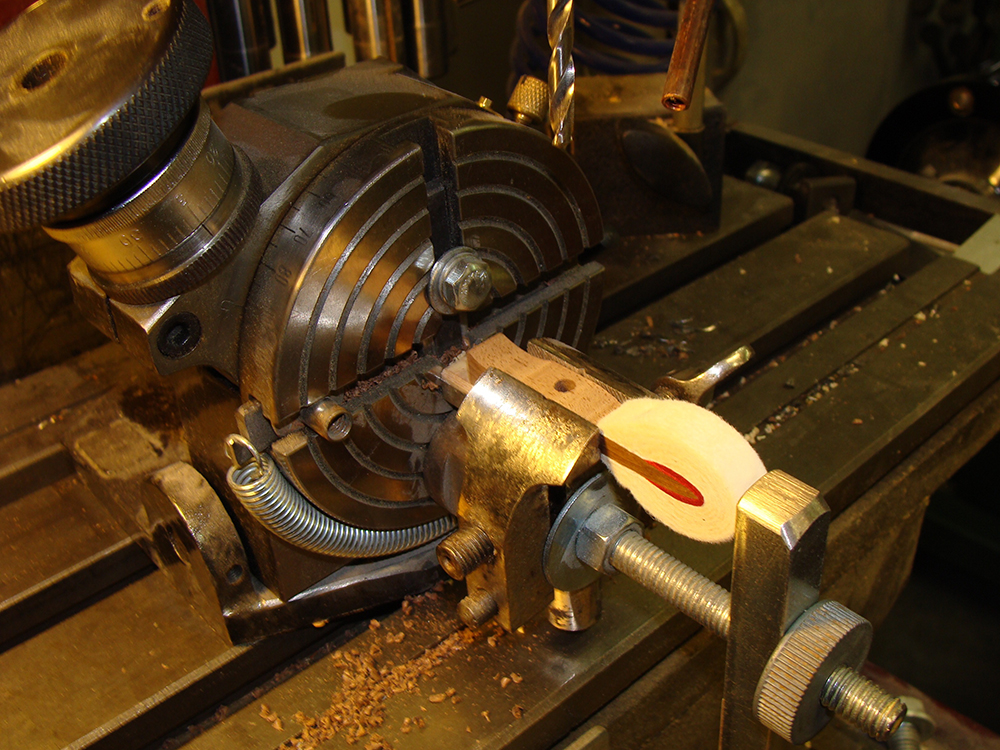
Though you can purchase hammers already drilled and prepped, I buy my hammers “raw”. This allows me to custom match the hammers to the piano. This is the machine I use to drill (bore) hammers. The location of the hole as well as the angle and rake of the hole varies thoughout the scale of the piano.
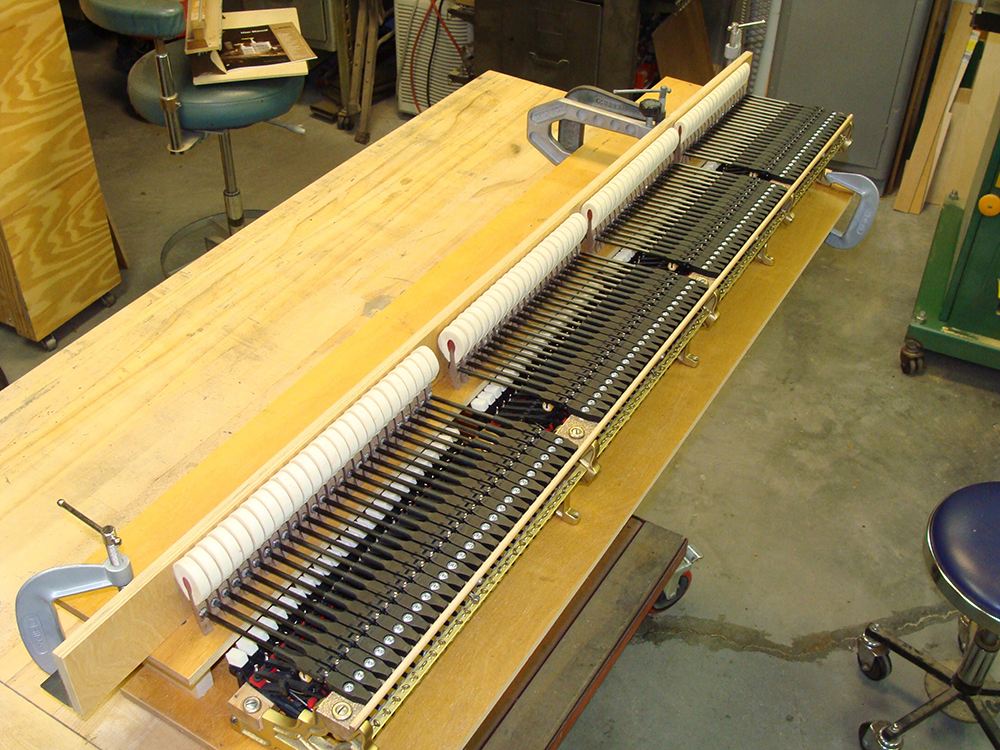
Once the hammers are bored, tapered, and shaped for the backchecks, they are ready to be mounted on the hammer shanks. This jig allows me to mount the hammers in a straight line or in a curve. A curved hammer line is sometimes necessary to get the proper tone out of the piano.
❮
❯